Bosch BGS 6PRO2 Aspiradora – Manual de instrucciones en formato pdf, léalo en línea gratis. Esperamos que le ayude a resolver cualquier duda que pueda tener al utilizar el aparato.
Si aún tiene preguntas, escríbalas debajo del manual de instrucciones.
"Estamos cargando el manual" significa que debe esperar a que se cargue el archivo para poder leerlo en línea. Algunos manuales son muy pesados y el tiempo que tardan en aparecer depende de su velocidad de internet.

11
!
Donotbrushthefilter.
●
For simple dry cleaning, simply tap the
fi
lter around
the edge o
f
the cap.
●
For more thorough cleaning, rinse the
fi
lter
f
rom the
outside with water, and allow it to dry completely
be
f
ore using it in the vacuum cleaner again.
Figure
a)
Unlock the dust container and take it out o
f
the
appliance.
b)
Take the
fi
lter unit out o
f
the dust container.
c)
Clean the
fl
u
ff
fi
lter.
When emptying the dust container, always check how
dirty the
fl
u
ff
fi
lter is and, i
f
necessary, clean it as
detailed in the “Cleaning the
fl
u
ff
fi
lter” instructions.
Cleaningtheflufffilter
The
fl
u
ff
fi
lter should be cleaned at regular intervals in
order to ensure optimum operation o
f
the vacuum clea-
ner. It is usually su
ffic
ient to lightly shake or tap out
the
fi
lter housing when the dust container is emptied in
order to dislodge any particles o
f
dirt.
I
f
this is not su
ffic
ient, the brush which is supplied with
the appliance or a dry cloth can be used to remove dirt
particles
f
rom the sur
f
ace.
!
Caution:theflufffiltermustnotbecleanedunder
runningwater.
The Hepa
fi
lter is designed so that it does not need to
be replaced i
f
the appliance is used as intended
f
or
household cleaning. To ensure that the vacuum cleaner
keeps working at its optimum per
f
ormance level, the
Hepa
fi
lter should be rinsed clean a
f
ter approx. 3 years.
The
fi
ltering e
ff
ect o
f
this
fi
lter in maintained, even
though the
fi
lter sur
f
ace may become discoloured.
RinsingtheHepafilter
Figure
a)
Open the exhaust grille by pressing the release button.
b)
Unlock the Hepa
fi
lter by pressing the locking tab
and remove it
f
rom the appliance.
c)
Tap out the Hepa
fi
lter and rinse under running water
d)
Do not re-insert the Hepa
fi
lter into the appliance
until it has completely dried and then close the
exhaust
fi
lter compartment.
Cleaninginstructions
Always switch o
ff
the vacuum cleaner and disconnect it
f
rom the mains be
f
ore cleaning the vacuum cleaner.
The vacuum cleaner and plastic accessories can be cle-
aned with a conventional plastic cleaner.
!
Donotusescouringagents,glassorall-purpose
cleaners.Neverimmersethevacuumcleanerin
wate
r.
Subject to technical modi
fic
ations.
27
26
Nous vous remercions d
'
avoir choisi un aspirateur
Bosch de la série
GS60.
Cette notice d
'
utilisation présente di
ffé
rents mod
è
les
GS60
Il est donc possible
q
ue les caractéristi
q
ues et
f
onctions décrites ne correspondent pas toutes
à
votre
mod
è
le. Utilisez exclusivement les accessoires d
'
origi-
ne Bosch. Ils sont spécialement con
ç
us pour votre
aspirateur, a
fi
n d
'
obtenir un résultat de nettoyage opti-
mal.
Conservez cette notice d
'
utilisation. Si vous remettez
l
'
aspirateur
à
une tierce personne, veuillez-y joindre sa
notice d
'
utilisation.
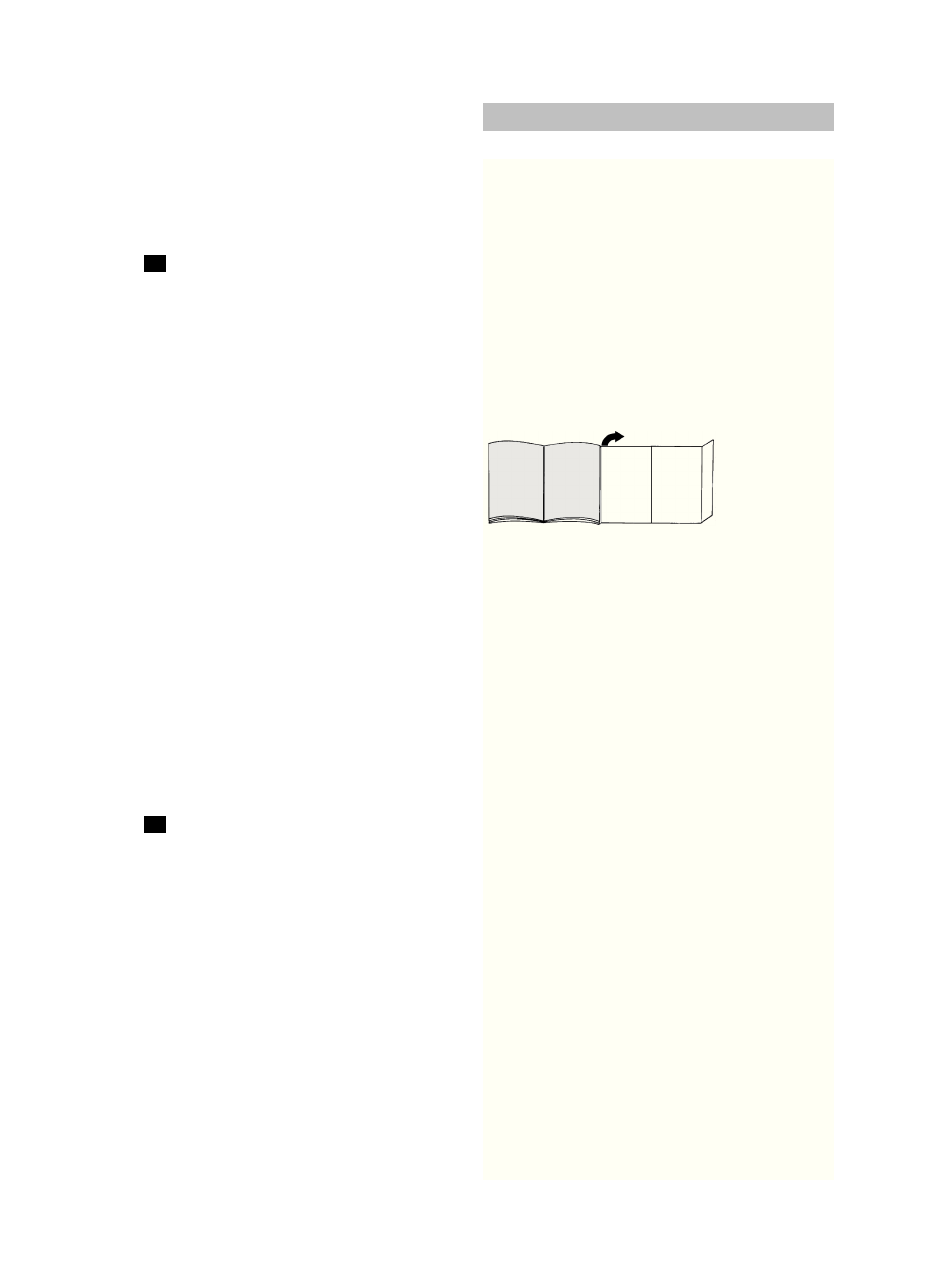
Veuillezdéplierlespagesd’images!
Descriptiondel’appareil
1 Brosse commutable pour sols avec raccord
d’accessoire
2 Tube télescopi
q
ue avec manchette coulissante et
raccord d’accessoire
3 Poignée
4 Flexible d’aspiration
5 Poignée de transport pivotable
6 Collecteur de poussi
è
res
7 Cordon électri
q
ue
8 Capot du
fi
ltre de sortie d’air
9 Bouton marche/arr
ê
t avec variateur électroni
q
ue
de la puissance d’aspiration
10 Voyant du niveau de puissance
11 Position parking sur le c
ô
té de l’appareil
12 Bouton de nettoyage du
fi
ltre « Clean »*
13 Rangement d’accessoires
14 Position de rangement sur le dessous de l’appareil
15 Brosse pour meubles
16 Suceur de joints
17 Pinceau de nettoyage
18 Filtre
à
lamelles
19 Tamis
à
peluches
20 Brosse pour sols durs*
21 Brosse TURBO-UNIVERSAL
®
pour sols*
fr
*selon l’é
q
uipement
¿Tiene más preguntas?¿No ha encontrado la solución a su problema en el manual o tiene otros problemas? Haga su pregunta en el siguiente formulario con una descripción detallada de su situación para que otras personas y expertos puedan responderla. Si sabe cómo resolver el problema de otra persona, ayúdele :)


