Brother JS-23 Máquina de coser – Manual de instrucciones en formato pdf, léalo en línea gratis. Esperamos que le ayude a resolver cualquier duda que pueda tener al utilizar el aparato.
Si aún tiene preguntas, escríbalas debajo del manual de instrucciones.
"Estamos cargando el manual" significa que debe esperar a que se cargue el archivo para poder leerlo en línea. Algunos manuales son muy pesados y el tiempo que tardan en aparecer depende de su velocidad de internet.

26
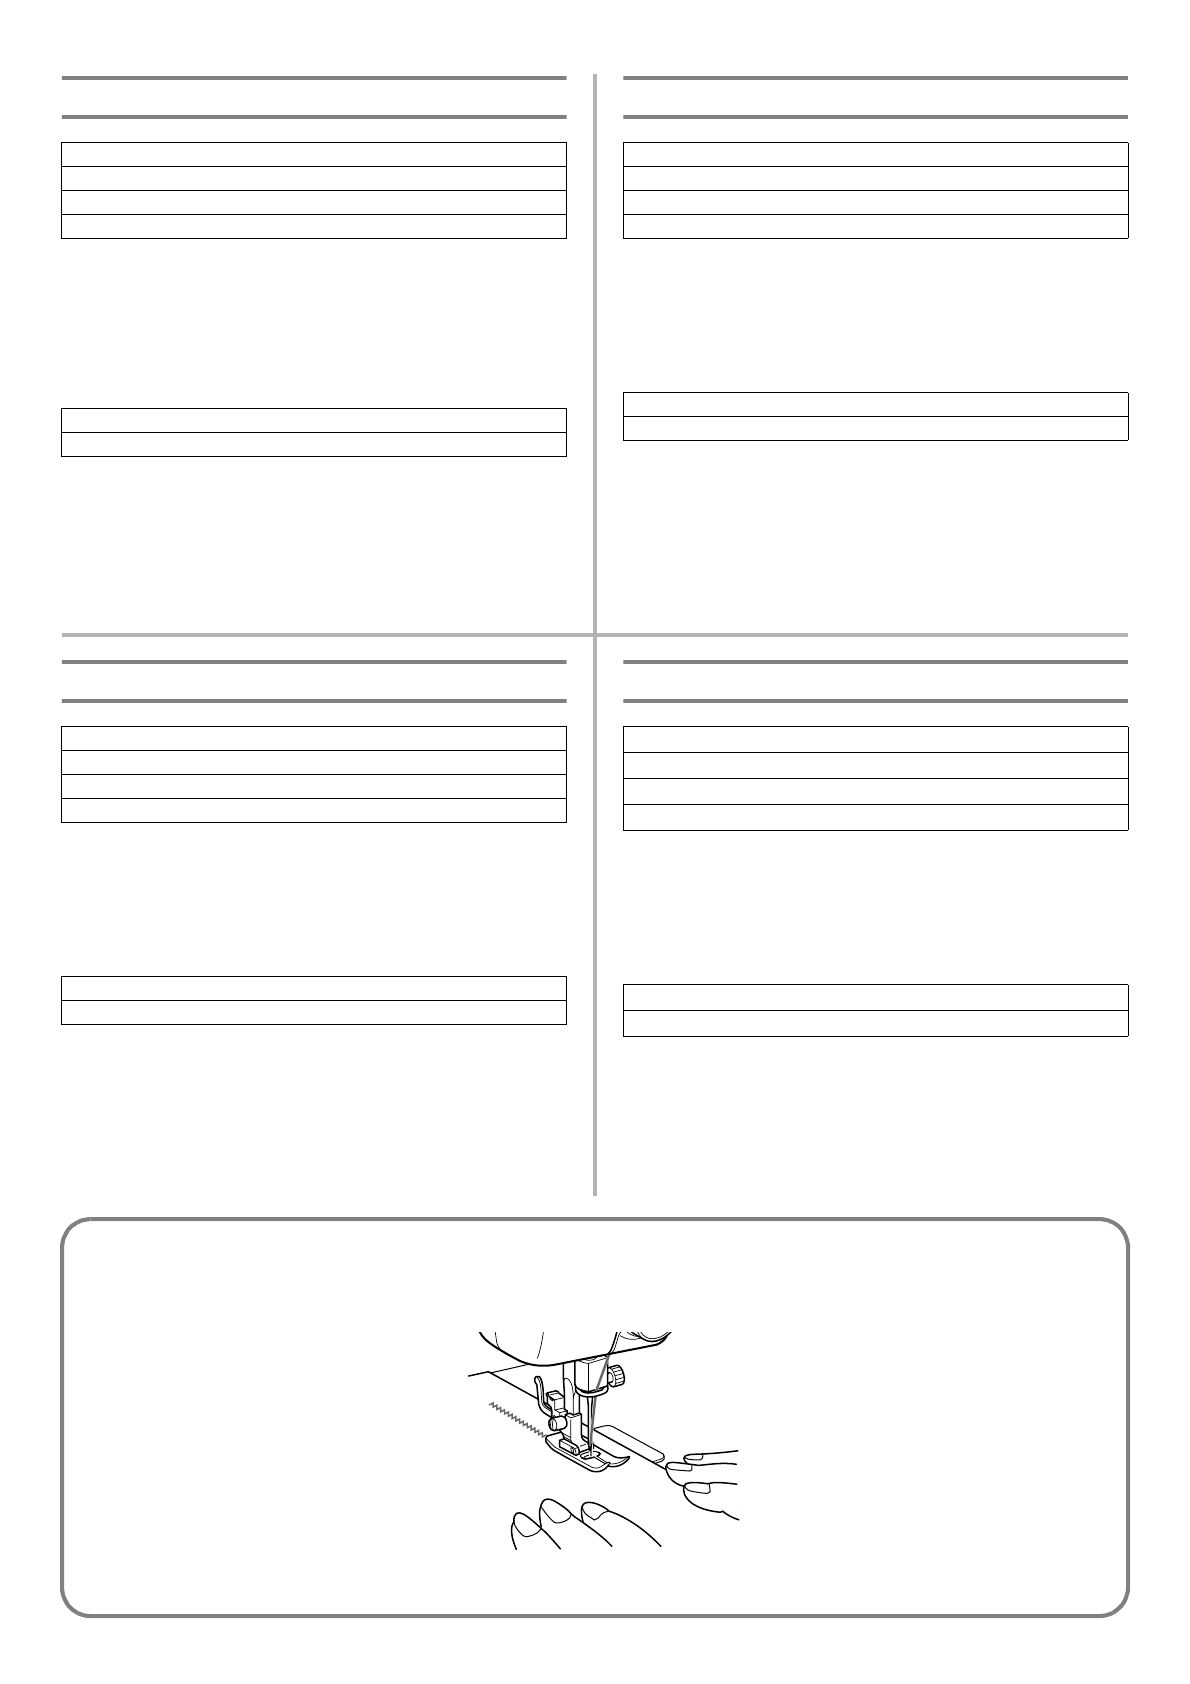
Zigzag Stitching
ZIGZAG STITCH
Set the pattern selection dial to the appropriate Zigzag Stitch (2, 3
or 4) with the desired width.
It is recommended to sew using the Straight Stitch at the
beginning and end of the Zigzag Stitches.
ZIGZAG (SATIN) STITCH
The Satin Stitch can be used for making decorative stitches. Set
the pattern selection dial to the Zigzag (Satin) Stitch (5).
Pattern
2 (Zigzag
Stitch)
3 (Zigzag
Stitch)
4 (Zigzag
Stitch)
Pattern
5 (Zigzag
(Satin)
Stitch)
Points zigzag
POINT ZIGZAG
Régler le sélecteur de modèle de point sur le point zigzag
approprié (2,3 ou 4), avec la largeur souhaitée.
Il est recommandé de faire quelques points droits d’arrêt au début
et à la fin d’une couture en points zigzag.
POINT ZIGZAG (POINT DE BOURDON)
Le point de bourdon peut servir comme point fantaisie décoratif.
Régler le sélecteur de modèle de point sur le point zigzag (point
de bourdon) (5).
Modèle
2
(Point zigzag)
3
(Point zigzag)
4
(Point zigzag)
Modèle
5
(Point zigzag (point de bourdon)
Puntadas zigzag
PUNTADA ZIGZAG
Coloque el selector de puntadas en la posición de puntada zigzag
adecuada (2,3 ó 4), con el ancho deseado.
Se recomienda coser con puntada recta al principio y al final de una
costura de zigzag.
PUNTADA ZIGZAG (DE REALCE)
Las puntadas de realce pueden servir como puntadas decorativas.
Coloque el selector de puntadas en la puntada zigzag (de realce) (5).
Número de puntada
2
(Puntada zigzag)
3
(Puntada zigzag)
4
(Puntada zigzag)
Número de puntada
5
Costuras zigzag (de realce)
Шитьё строчкой «зигзаг»
СТРОЧКА «ЗИГЗАГ»
1. Установите ручку выбора строчки в положение,
соответствующее строчке «зигзаг» (2, 3 или 4) с требуемой
шириной строчки.
2. Рекомендуется в начале и в конце строчек «зигзаг»
использовать шитьё прямой строчкой.
СТРОЧКА «ЗИГЗАГ» (АТЛАСНАЯ)
Атласная строчка может использоваться для выполнения
декоративных строчек. Установите ручку выбора строчки в
положение «Зигзаг» (атласная) (5).
Положение ручки выбора вида строчки
2
(Строчка «зигзаг»)
3
(Строчка «зигзаг»)
4
(Строчка «зигзаг»)
Положение ручки выбора вида строчки
5
(Строчка «зигзаг» (атласная))
¿Tiene más preguntas?¿No ha encontrado la solución a su problema en el manual o tiene otros problemas? Haga su pregunta en el siguiente formulario con una descripción detallada de su situación para que otras personas y expertos puedan responderla. Si sabe cómo resolver el problema de otra persona, ayúdele :)


